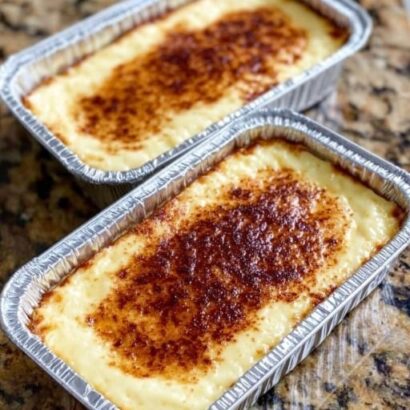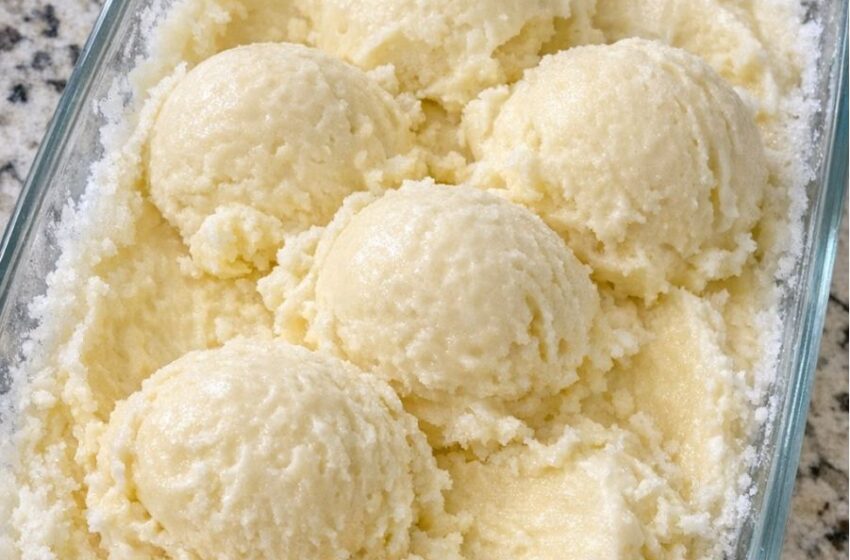
This simple little pan of ice cream is the very same 3‑ingredient treat my Grandma Betty used to stir together when money was tight and we still wanted something special after supper. There were no fancy machines or expensive cream, just a can of evaporated milk, a scoop of sugar, and a splash of vanilla. She’d pour it into a glass casserole dish, slide it into the freezer, and by evening we kids thought we were eating pure magic. I finally learned her secret, and now my own grandchildren beg for a bowl of this creamy, pale yellow “poor man’s ice cream” almost every night.
Serve this poor man’s ice cream in simple bowls or mugs, scooped straight from the glass casserole dish while it’s soft and a little icy around the edges. It’s lovely just as it is, but you can dress it up with a drizzle of chocolate syrup, a spoonful of jam, or some sliced bananas and strawberries. It also pairs nicely with warm desserts like fruit crisp, brownies, or a slice of pound cake—the cold, lightly sweet ice cream melts into the warm crumb and makes every bite taste like an old‑fashioned diner sundae.
3-Ingredient Poor Man’s Ice Cream
Servings: 6–8
Ingredients
1 (12-ounce) can evaporated milk, well chilled
1/2 cup granulated sugar
2 teaspoons vanilla extract
Directions
Chill the evaporated milk: Place the unopened can of evaporated milk in the refrigerator until very cold, at least 4 hours or overnight. A cold metal mixing bowl and beaters (or whisk) in the fridge for 30 minutes before starting will help the mixture whip up a bit lighter.
Prepare the pan: Set out a shallow glass casserole dish (about 8×8 inches or similar size). Make sure it’s clean and dry, and place it in the freezer while you mix the ice cream so it’s nice and cold.
Mix the base: Pour the chilled evaporated milk into the cold mixing bowl. Add the granulated sugar and vanilla extract. Using a hand mixer, stand mixer, or a sturdy whisk, beat the mixture on medium-high speed for 3–5 minutes, until it looks a little lighter in color and slightly foamy. It won’t get as thick as whipped cream, but it should feel airy and the sugar should be mostly dissolved.
Taste and adjust: Give the mixture a small taste. If you prefer it a bit sweeter, you can add another tablespoon or two of sugar and mix briefly to dissolve. Remember that frozen desserts taste slightly less sweet once frozen, so it should taste just a touch sweeter than you’d normally like it when it’s still liquid.
Freeze the first time: Pour the mixture into the chilled glass casserole dish, spreading it into an even layer. Place the dish flat in the freezer and let it freeze for about 1 1/2 to 2 hours, until the edges are firming up and the center is slushy but not completely solid.
Stir to break up ice crystals: Take the dish out of the freezer and use a sturdy spoon or fork to scrape and stir the mixture, breaking up any large ice crystals and pulling the frozen edges into the softer middle. Smooth it back into an even layer. This step helps give it that soft, scoopable texture Grandma-style, without a machine.
Freeze again: Return the dish to the freezer for another 1 to 2 hours, or until the ice cream is mostly firm but still soft enough to scoop. The top will look pale yellow and creamy with slightly icy edges, and a spoon should glide through with a bit of resistance.
Serve: Use a regular kitchen spoon to scoop the ice cream into bowls, digging down to the bottom of the glass dish. Serve immediately while soft and creamy. If it becomes too hard after longer freezing, let the dish sit on the counter for 10–15 minutes to soften slightly before scooping.
Store leftovers: Cover the glass casserole dish tightly with plastic wrap or a lid and keep in the freezer. For best texture, enjoy within 3–4 days. Expect it to get a bit icier over time—that’s part of the old-fashioned charm.
Variations & Tips
For a stronger vanilla flavor, increase the vanilla extract to 1 tablespoon; this gives the ice cream a deeper, almost bakery-style aroma. If you’d like a chocolate twist, whisk in 2–3 tablespoons of unsweetened cocoa powder with the sugar, tasting and adding a little extra sugar if needed. A pinch of salt (about 1/8 teaspoon) can also be added to balance the sweetness and bring out the vanilla. For a faux “cookies and cream,” stir in 1/2 to 3/4 cup of crushed chocolate sandwich cookies after the first freeze-and-stir step, then return to the freezer. You can also swirl in a few spoonfuls of strawberry jam, caramel sauce, or peanut butter at the same stage for ribbons of flavor. If you’re watching sugar, you may experiment with a granulated sugar substitute that is labeled as safe for freezing, but note that texture and sweetness can change. Food safety tips: Always use evaporated milk from a can that is not dented, bulging, or past its expiration date. Keep the milk refrigerated once opened and use it promptly. Make sure your mixing bowl, beaters, and glass dish are clean and dry before starting. Do not leave the ice cream mixture at room temperature for long periods; move it to the freezer soon after mixing. When serving, avoid letting the dish sit out for more than 20–30 minutes—return any leftovers to the freezer promptly to maintain quality and food safety.